The lifespan of thermal printing depends on the type of thermal method used. With direct…
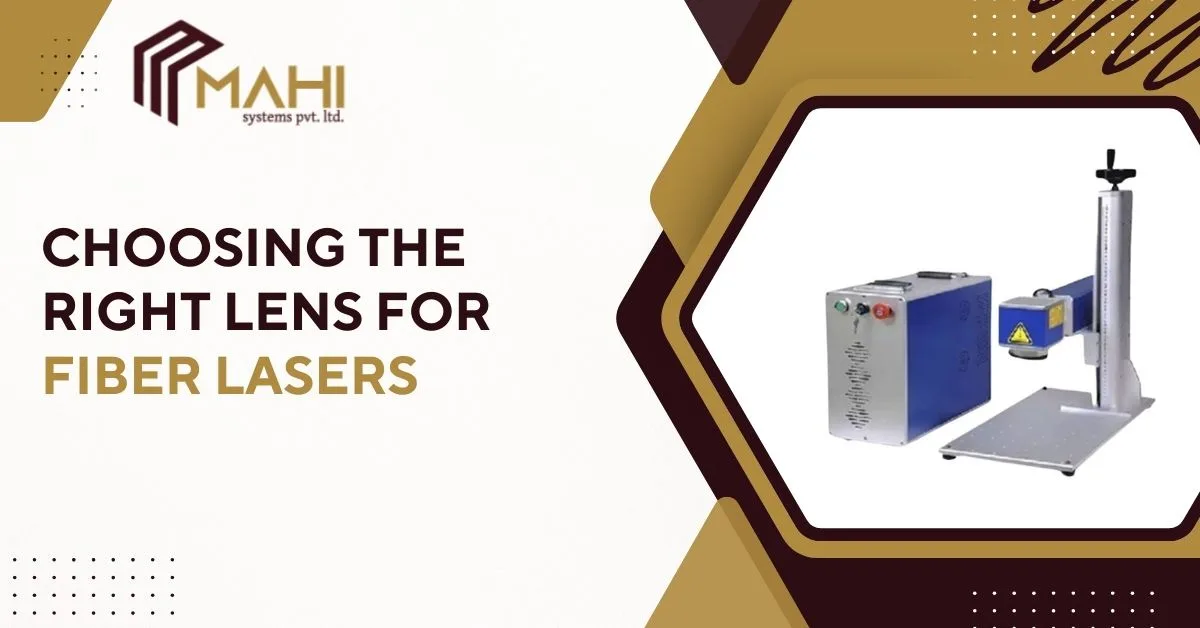
Choosing the correct lens is a critical step in achieving accurate and consistent marking results, and a Fiber Laser Marking Machine depends heavily on the right lens selection for optimal performance. The lens directly affects marking area, depth, speed, and clarity, making it a key factor for industries focused on precision, efficiency, and quality. Understanding how different lenses work helps manufacturers improve marking accuracy while maximizing the full potential of fiber laser technology.
What Is a Fiber Laser Lens (F-theta Lens)?
A fiber laser uses an F-theta lens to focus the laser beam across the marking area, and this determines how large your working field can be. In the middle of your setup, a Fiber Laser Marking Machine relies on the lens focal length to balance detail and coverage—meaning the same laser can create tiny micro-text or large logos depending on lens choice. When the lens matches your application, you get stable focus, better contrast, and consistent line width.
Why the Right Lens Matters?
Lens selection directly affects readability, especially for QR codes, UID marks, and small serial numbers. At the center of production quality, a Fiber Laser Marking Machine with the correct lens produces sharper edges, fewer broken characters, and higher scan success rates—reducing rejects and rework. The wrong lens often causes blurry marks, uneven depth, or a field size that doesn’t match your part, which slows production and increases electricity and maintenance costs.
Choose Lens by Marking Area
Start by matching the lens field size to your largest part or the maximum area you need to mark. For many factories, a Fiber Laser Marking Machine is selected for flexibility, but the lens defines practical limits—so choosing the correct marking area avoids clipping logos or constantly repositioning parts. Typical lens field sizes include 70×70 mm (very small), 110×110 mm (small), 150×150 mm (general), 200×200 mm (medium-large), and 300×300 mm (large). Smaller fields give higher detail; larger fields cover bigger parts or allow multiple parts to be marked in one cycle.
Choose Lens by Detail and Resolution
If your job includes micro-text, tiny logos, or dense QR codes, resolution becomes more important than field size. In the center of fine marking, a Fiber Laser Marking Machine with a smaller field lens (like 110×110) usually delivers a tighter spot size and cleaner edges, making codes easier to scan. Larger field lenses are great for big parts, but they can reduce effective resolution—so very small characters may look thicker or less crisp unless settings are optimized and the code size is increased.
Looking to choose the perfect lens for your fiber laser application?
Get expert guidance today — contact us for the right solution.
Choose Lens by Material and Application
Material type changes how visible and durable your mark will be. For metal nameplates, tools, or stainless-steel parts, a. Fiber Laser Marking Machine paired with the right lens helps maintain uniform depth and contrast across the field—especially for deep engraving or high-contrast annealing. For plastics and rubber, lens choice supports cleaner energy distribution and helps avoid burn marks or melting. If your goal is compliance marking (barcode/QR/UID), use a lens that supports both clarity and consistent focus across real-world part surfaces.
Working Distance and Depth of Focus
Every lens has a preferred working distance (the focus distance), and this impacts how tolerant your process is to part height variation. In the middle of real factory conditions, a Fiber Laser Marking Machine performs best when the lens depth of focus can handle minor unevenness—like curved parts, cast surfaces, or fixtures with tolerances. If your parts vary in height, you may need better fixturing, a focus finder, or a lens choice that suits your working distance constraints.
Speed vs Quality Optimization
Field size affects how far galvo mirrors move, which can influence cycle time. In high-output environments, a Fiber Laser Marking Machine using an appropriate lens can reduce travel distance, increase speed, and keep characters consistent—especially when marking multiple parts in one fixture. If your main goal is throughput, consider a lens that fits your layout efficiently, then fine-tune speed, frequency, and power so marks stay sharp while production remains fast.
Lens Size
| Lens Field Size | Best For | Detail Level | Typical Use |
| 70×70 mm | Micro marking | Very High | Tiny parts, micro text |
| 110×110 mm | Small codes | High | QR/UID, electronics, tools |
| 150×150 mm | General marking | Medium-High | Most industrial jobs |
| 200×200 mm | Larger parts | Medium | Housings, plates, batches |
| 300×300 mm | Big surfaces/multi-part | Medium-Low | Large components, fixtures |
Common Lens Selection Mistakes to Avoid
A frequent mistake is buying the largest field lens “for flexibility,” then struggling with small text clarity. In the center of many marking issues, a Fiber Laser Marking Machine with an oversized lens may produce thicker lines and lower scan performance unless code size is increased. Another common error is ignoring part height variation—if your focus shifts across the field, marks become uneven. Lastly, don’t forget that changing lens often requires updating calibration and templates to maintain accuracy.
Frequently Asked Questions
For small, dense codes, a 110×110 mm lens is commonly preferred because it offers higher detail and sharper edges for scan reliability.
A 70×70 mm or 110×110 mm lens is ideal for micro marking and tiny characters.
Yes, many systems can use multiple lenses, but you must recalibrate and adjust templates to match each lens field size.
If marks look blurry, lines are too thick, codes fail to scan, or the marking area doesn’t fit your parts, your lens selection may be incorrect.
It can reduce fine detail compared to smaller field lenses, so small text and dense codes may need larger code sizes or different settings.
Conclusion
Choosing the right lens is about matching field size, detail requirement, material, and production speed—without overspending or sacrificing quality. In the middle of a reliable marking process, a Fiber Laser Marking Machine with the correct lens produces scan-ready codes, consistent branding, and fewer rejects. If you frequently mark both small and large parts, consider maintaining multiple lenses and calibrated job templates so you can switch applications efficiently while keeping output stable.
Related Posts